
How to create a seamless Instagram Carousel Post in Canva
Seamless Instagram carousel posts are all the rage! On top of that, brands are utilizing the first row of their Instagram posts to not only pin important posts but also use them as a way to tell a story. This is a creative way to use static feed posts while creating an attractive, branded Instagram grid.
Let’s walk through the steps to create a seamless Instagram carousel post:
Determine your content strategy.
Before you get too far into the design, you’ll want to first determine your copy. This is where storyboarding can come in handy. You can use carousel posts to showcase a series of topics, services, products, or even before/after photos. Creating a seamless carousel post can take a little more time than creating a single static feed post, so make sure you come to the table prepared.
Determine the number of slides you want for your seamless Instagram carousel post
Creating a seamless Instagram Grid with Pinned Posts:
If you want to create a seamless grid design, you will need three posts. Instagram’s grid rows only contain three posts.
Creating a seamless Instagram Carousel Post:
If you want to create a seamless carousel post, keep in mind that you can have up to 10 photos or videos.
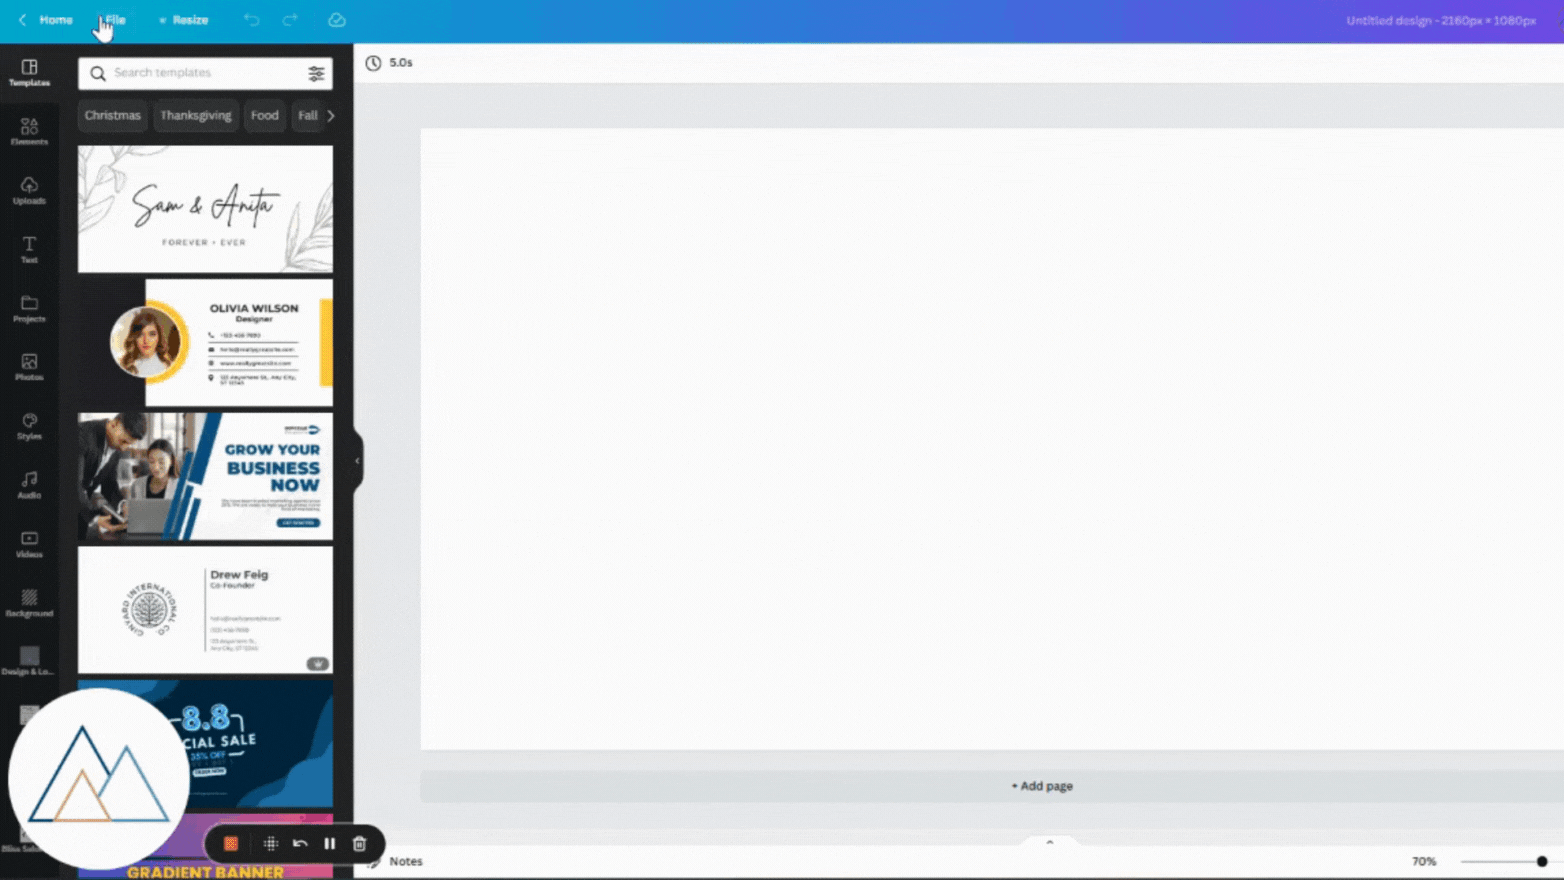
Create your design in Canva
Canva is a fantastic graphic design tool and comes with a free version. Adobe Photoshop can also be used, but for the sake of this tutorial, we will use Canva. Click on Create a Design button and enter the Width and Height. Multiply the height by the number of slides. So for 3 square slides, you would take 1080 X 3 to get 3240. Below are some popular sizes for square and portrait.
Square:
3 Slides: 3240 x 1080px
4 Slides: 4320 x 1080px
5 Slides: 5400 x 1080px
6 Slides: 6480 x 1080px
Portrait:
3 Slides: 3240 x 1350px
4 Slides: 4320 x 1350px
5 Slides: 5400 x 1350px
6 Slides: 6480 x 1350px
Create Guides
First, turn on rulers and guides. In the top left corner of Canva, click File and click Show Rulers and Guides
Next, create a Guide for every 1080 pixels.
Click on the ruler on the left until a purple verticle line appears. Then click and drag to 1080px. Then repeat based on the number of slides you determined. If you have a 3-slide template, you’ll create two guides: one at 1080px and the other at 2160px.
You can increase the zoom percentage to see the ruler increments better!
CREATE Your Design!
If you are creating a Carousel post, think of the slides as a way to tell your story. Start with the left of your design as the beginning and work your way right to the end of your story.
Pro Tip:
To achieve that “seamless” look, place photos and graphical elements on the guide so it overlaps onto two slides.
Utilize gradients or textured backgrounds to create a continuous look and design.

Split Your Design
Once your design is made, you will need to split the design. There are several free image-splitting tools online. We’ve used this ImageSplitter. Make sure to adjust the settings for Rows and Columns.
Rows = 1
Columns = [Number of slides]
Split the image and download the files.

Publish Your Posts!
If you are creating a seamless Instagram Grid with Pinned Posts:
Make sure to publish the posts in chronological order… which is from oldest to newest. When you go to Pin the posts, click the three dots on the post and tap Pin to your Profile. If your posts are pinned in the wrong order, simply unpin the post and repin it in the order you need it.
Creating a seamless Instagram Carousel Post:
Make sure the posts are in the right order!

Hope you have fun with this one!
Tag us in your posts so we can see your work!